<<BACK TO EXAMPLES PAGE
Here is a
step by step process of how the lettering is done. Joanie was kind
enough to take in progress pictures of the work. Click on any picture for
an enlarged view.
|
 Step
1: Step
1:
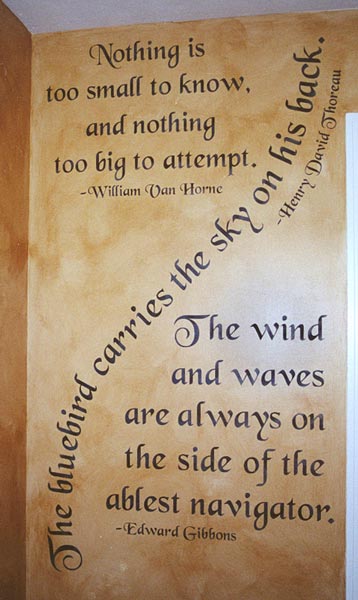
Joanie emailed us the dimensions of the room, the locations of windows and other areas to
be left blank, the text she wanted to put in, and some ideas of
how she wanted it laid out. After several revisions, we settled on the
format here. Keep in mind this is scaled exactly to the room dimensions,
so there is little guesswork as to if it will fit right. Compare this
with the finished job below to see how close this layout is! |
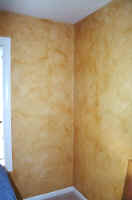
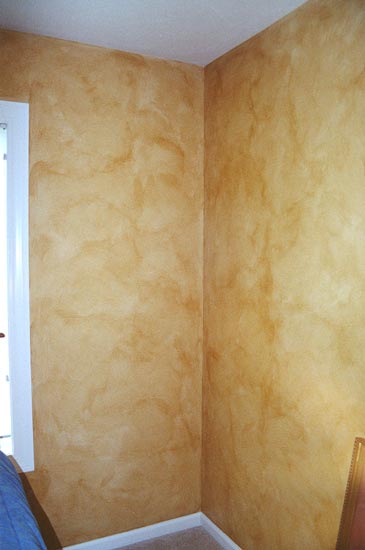
Step 2: Here is the wall prior to stenciling. It was prepped and faux finished. Make sure the paint is
thoroughly cured before doing any type of stenciling.
|
 Step
3: Step
3:
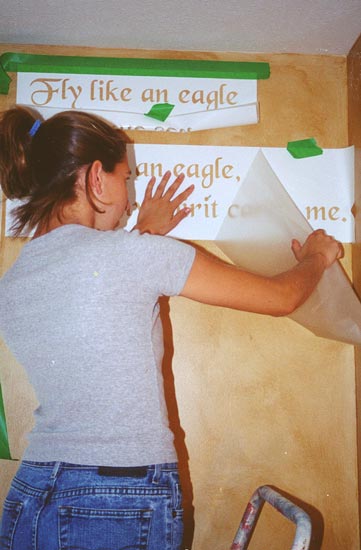
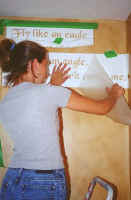
The stencils are positioned
on the wall and taped in place with masking tape. Since the letters are
all pre-spaced, just use a level to make sure they're straight. When
you're sure of the placement, remove the protective backing and burnish
the stencil onto the wall. Then remove the clear material on the front,
making sure the letter centers stay behind.
|
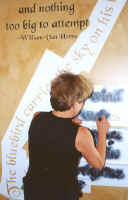
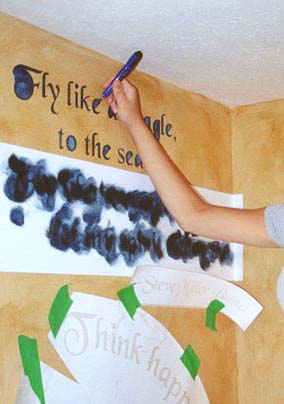
Step 4: Stencil
normally using your preferred method. We do suggest you do one section at
a time as shown. |
 Step
5: Step
5:
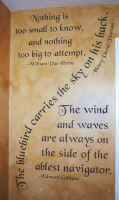
Remove the stencil
carefully. The letter centers will stay behind- pick them out with an x-acto
knife or other sharp tool as shown at right. |
 |
 Step
6: Step
6:
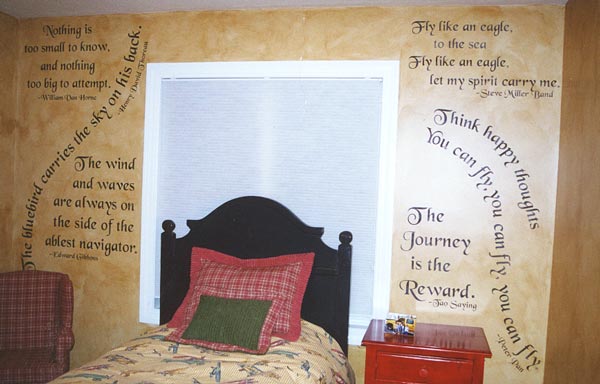
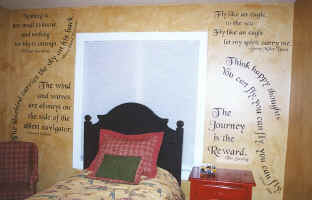
YOU'RE DONE! Compare the
picture at right to the advance proof sent above. The lettering part of
this room took about 4 hours to complete. |
|
Hi!----wowwwwwwww did the
lettering work out just fabulous! The client loves it---it was super
easy, (since you did all the hard work laying it out for me---I just
followed what you did! Saved me many hours just placing it
out!!!!)...Many thanks--fine, super, splendid
job!!!!!
Blessing, Joanie |